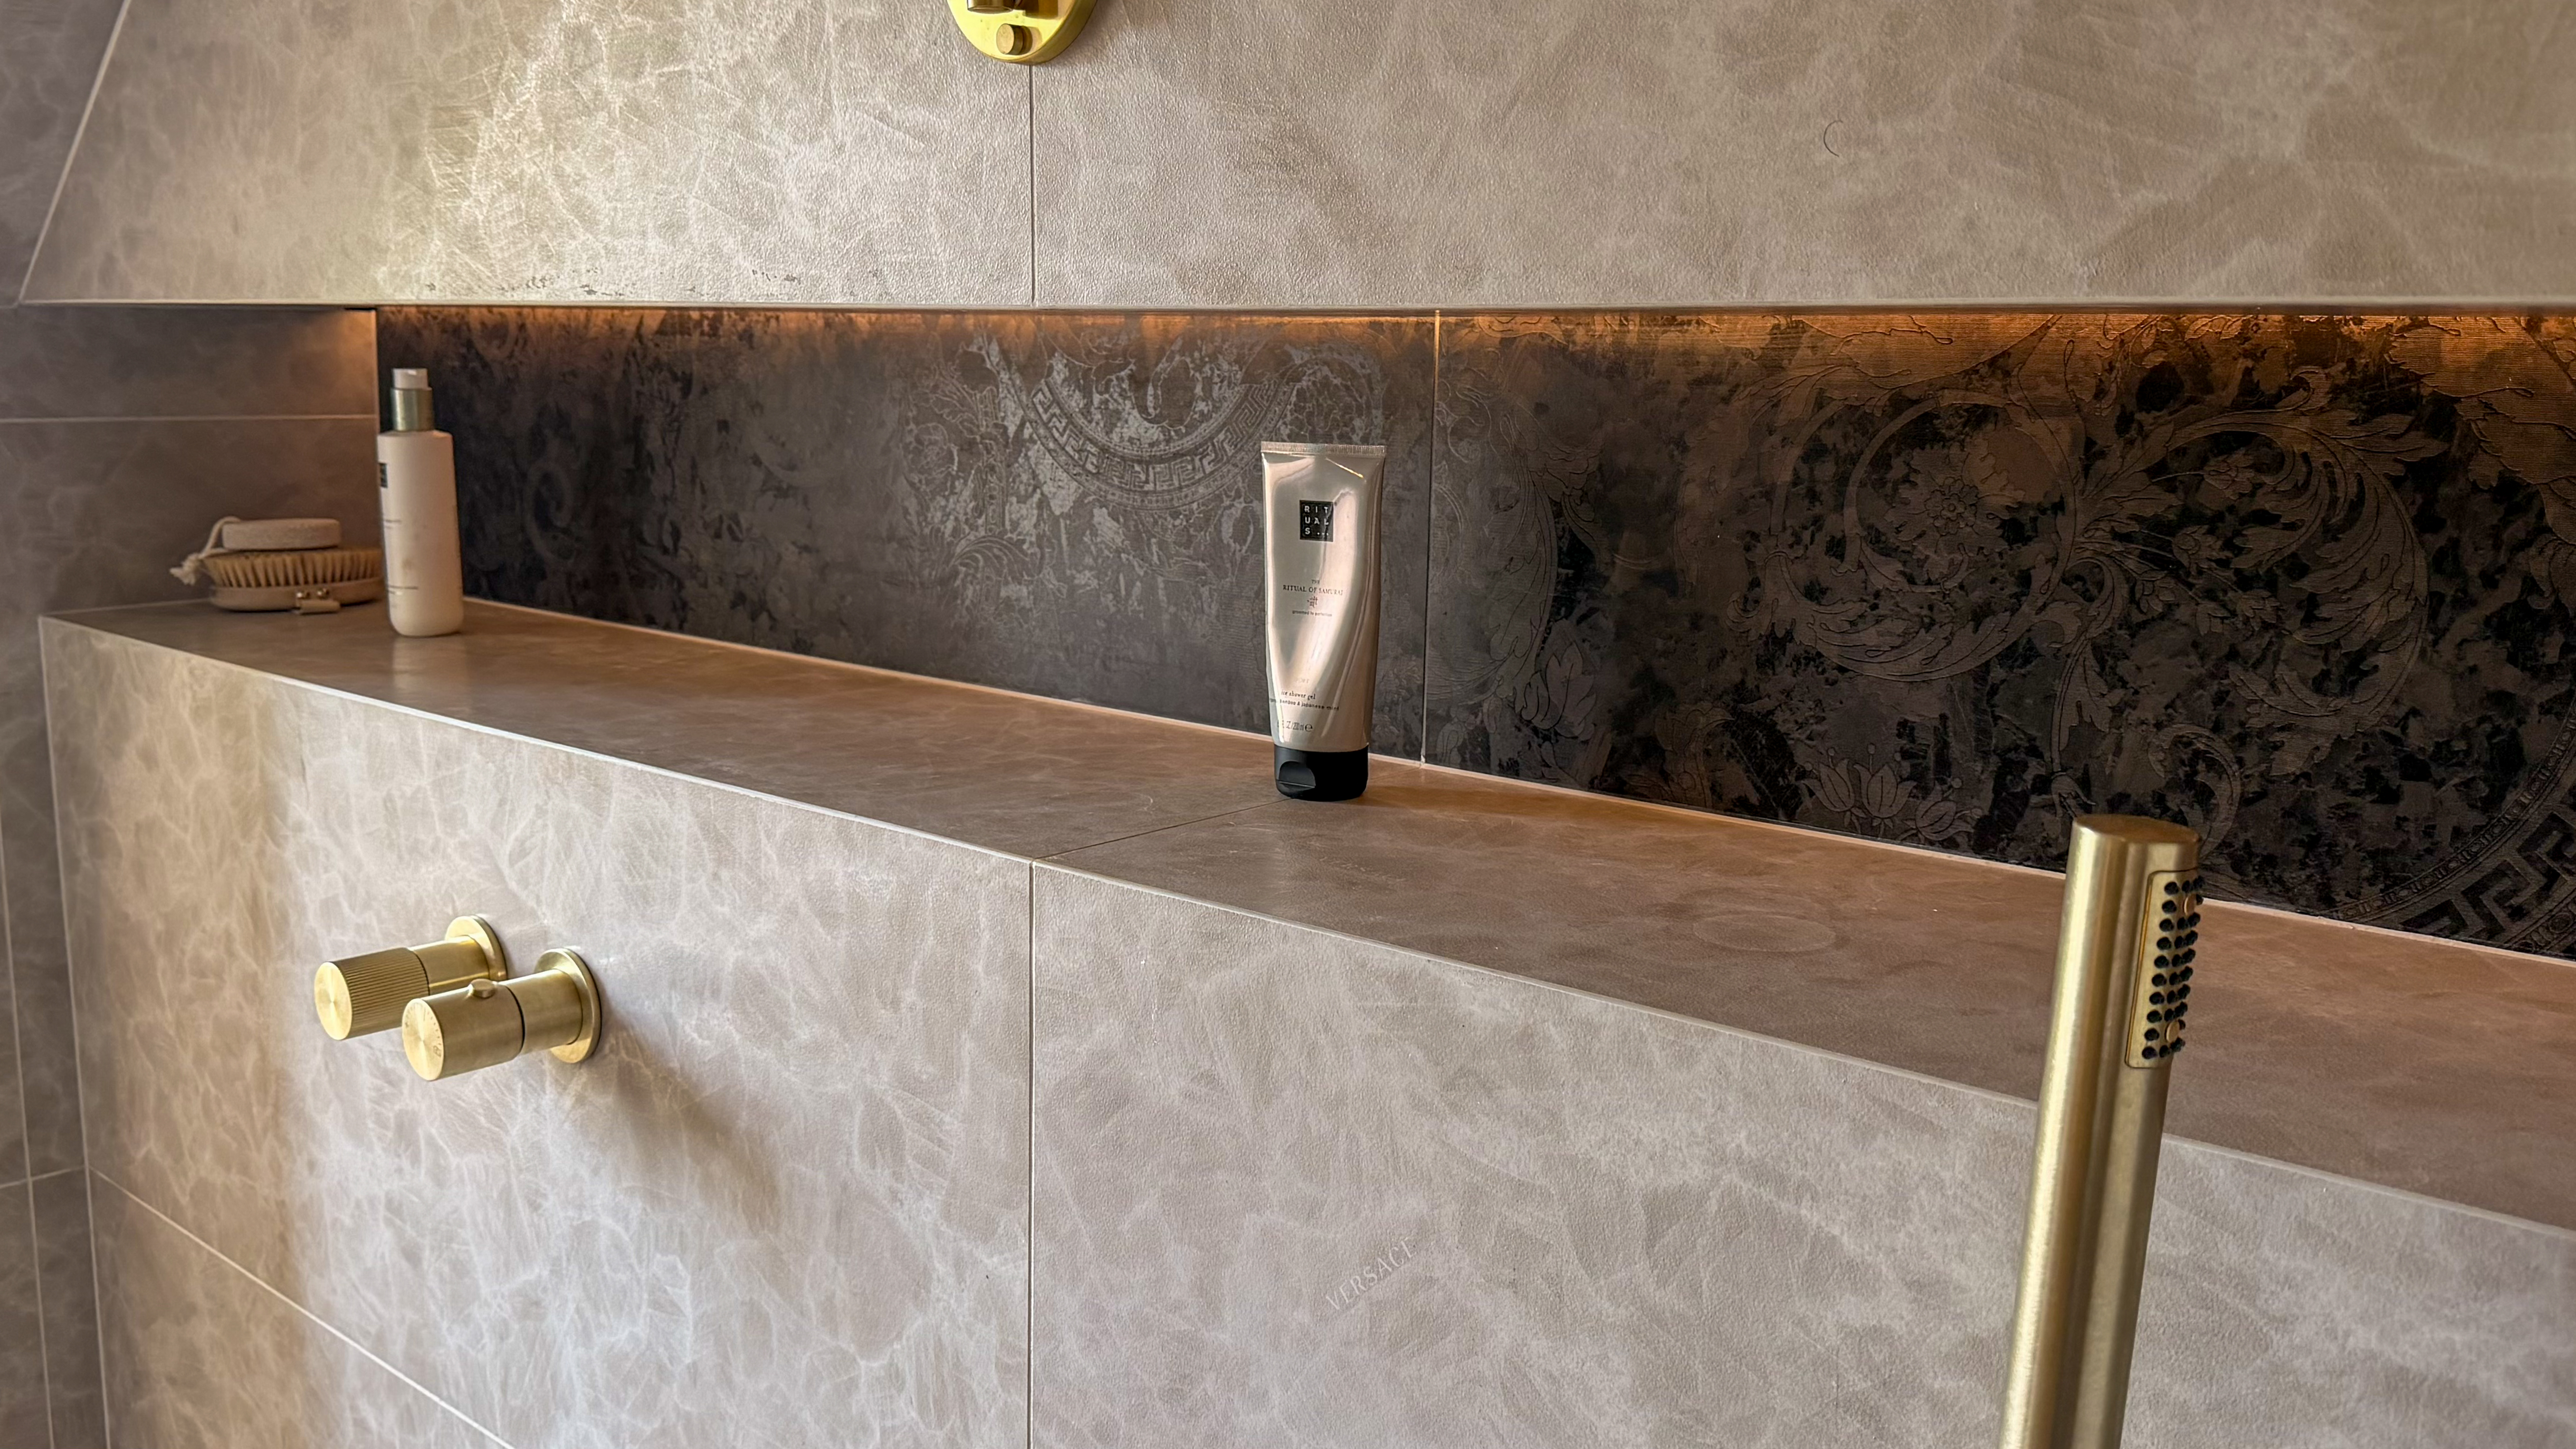

A well-built wet room is one of the easier bathroom layouts to keep clean. It has no shower tray, and with no sliding door there is no enclosure track or door seal for soap scum and hair to collect in. Most wet room maintenance comes down to two jobs: clearing the drain each week, and keeping the silicone and grout sound so water stays on the tiled surface.
Why a wet room needs less upkeep than a shower enclosure
A shower enclosure has several places where grime settles out of reach: the lip of the tray, the runner under a sliding door, the rubber seal along a hinged one, and the joint where the tray meets the wall. Each needs a brush worked into a corner, and each is a point where water can escape if the seal gives way.
A wet room replaces most of that with a single tiled floor laid to a slight fall towards a drain. The screen, if there is one, is usually a fixed glass panel with no moving parts, so the weekly clean covers a flat floor and a sheet of glass.
That ease depends on a waterproof layer under the tiles and an accurate fall in the floor, and neither is visible once the room is finished. This is why who builds a wet room matters more than which drain or tile you choose.
A weekly routine for the floor and drain
Hair and soap residue collect in the drain within days. Most wet room drains have a removable grate with a hair trap beneath it, whether it is a linear drain running along one edge or a point drain set into the floor. The routine is the same for both.
- Lift the grate and pull out the hair trap. Put the hair and debris in the bin.
- Scrub the trap and grate under warm water with an old toothbrush and a little washing-up liquid.
- Wipe inside the channel or drain body to remove the film of soap that builds up there.
- Refit both, then run the shower for a minute to check that water drains away without pooling.
- Mop the floor with a pH-neutral cleaner, working towards the drain.
A floor squeegee used after each shower pushes standing water to the drain and stops soap scum drying on the tiles. It takes under a minute and shortens the weekly clean.
Avoid using chemical drain unblockers as a matter of routine, as some are harsh on seals and on the plastic parts of the drain body. If the floor is natural stone such as marble or limestone, keep acidic cleaners off it entirely, because they etch the surface.
Looking after silicone joints and grout
Silicone seals the movement joints: where the floor meets the walls, around the drain, at internal corners and along the base of a glass screen. Grout fills the gaps between tiles. Between them, they keep water on the tiled surface.
In a shower enclosure, a failed silicone joint is the most common cause of small leaks around the tray, and it is cheap to fix if caught early. A wet room has fewer of these joints, but the ones it has do the same job and wear in the same way. Once a month, press gently along each bead with a fingertip. It should feel firm and bonded on both sides. If an edge is lifting or the bead has split, cut it out and replace it.
Surface mould on silicone usually wipes away with a mould remover left on for the time given on the label, then rinsed. Once mould has spread into the body of the bead it keeps returning, and resealing is the only lasting fix.
Clean grout with the same pH-neutral cleaner and a soft brush, since wire brushes and abrasive pads wear it away. Cement-based grout is porous, and many installers recommend sealing it every year or two to slow staining and water uptake. Epoxy grout is non-porous and needs no sealer. If you are unsure which you have, ask whoever fitted the room before buying one. Cracked or crumbling grout should be raked out and replaced, as gaps let water reach the tile adhesive.
Keeping glass screens and fittings free of limescale
Hard water is common across London and Essex, and limescale is what most often makes a wet room look tired. It shows as white spots on glass and a crust on shower heads and taps.
A squeegee run down the glass after each shower removes most of the water before minerals settle. For build-up that has already formed, spray on a mix of white vinegar and water, leave it for 10 to 15 minutes, then rinse. This lifts most limescale from glass and chrome. Check the manufacturer's guidance before using it on brushed or coloured finishes, as some coatings react to acids.
Rubbing the rubber nozzles of a shower head with a thumb while the water runs breaks off light scale, and heavier deposits come away after a soak in diluted vinegar. Many glass panels leave the factory with a coating that helps water run off. Abrasive cleaners strip it, so use a soft cloth on the screen.
What cleaning cannot fix: waterproofing and the floor fall
Two parts of a wet room sit beneath the finish and cannot be maintained from above. One is the waterproofing, often called tanking: a membrane or liquid coating applied across the floor and up the walls before tiling. The other is the fall that carries water to the drain.
If the tanking has a gap, water passes through the grout and adhesive into the floor beneath, however well you keep the silicone. If the fall is too shallow or runs the wrong way, water pools on the tiles and finds the weakest joint. Neither problem shows on the day the room is finished. Rushing or skipping a stage hides problems behind finished tiles.
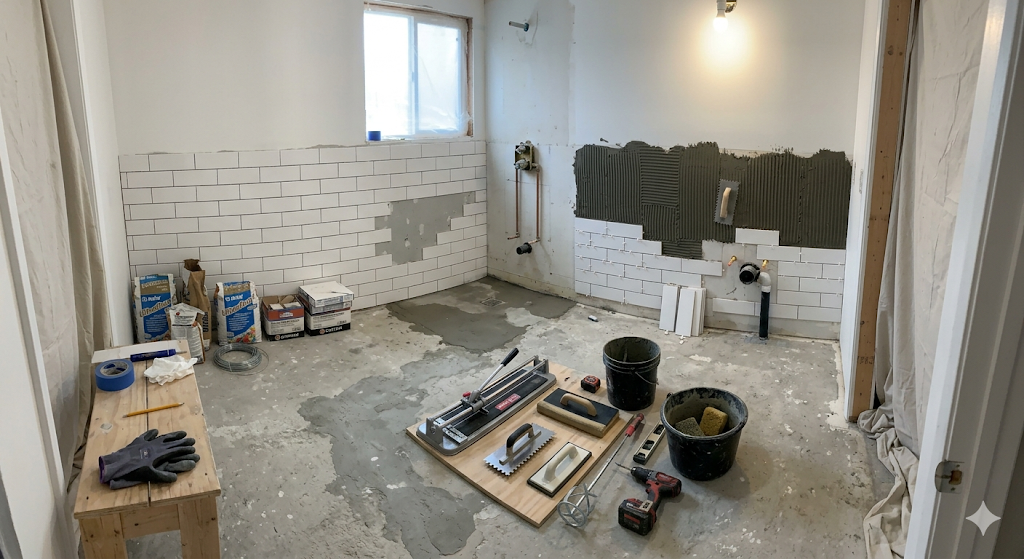
A bathroom renovation follows a set order: strip back to brick, first fix plumbing, tiling, then second fix. The waterproofing and the fall have to be right before tiling starts, so the build decides how much upkeep the room will need for years afterwards.
We use our own in-house specialist fitters , and expert oversight is included in every Migss quote. Some firms subcontract the work without that oversight. Every installation carries a 10-year labour guarantee. You can see our wet room work on our projects page, and our bathroom renovation service explains how we work.
Signs your wet room needs a professional look
Ask a specialist to look at the room if you notice any of these:
- Water pooling on the floor away from the drain after the shower is off
- Slow drainage even after the hair trap and channel have been cleaned
- Damp patches or staining on a ceiling below or an adjoining wall
- Tiles that sound hollow when tapped, or that move underfoot
- Silicone that fails again within weeks of being replaced
Caught early, a resealed joint or a regrouted patch may be all that is needed. Water that has been getting past the surface for months can damage the floor structure, and the repair then means lifting tiles. Our bathroom resources cover planning and care in more detail.
Frequently asked questions
How often should I clean a wet room drain?
Once a week suits most households. A busy family bathroom, or one used by people with long hair, may need the hair trap cleared every few days. With a grate that lifts out, the job takes about five minutes.
Do wet rooms leak more than shower enclosures?
A wet room built with full tanking and a correct fall should not leak. Leaks trace back to faults in the build or to failed silicone, so the quality of the build and monthly checks on the joints decide how well a wet room performs.
How often does silicone need replacing in a wet room?
There is no fixed interval. Check the joints monthly and replace any bead that has lifted or has mould inside it. Good ventilation and drying the room after use help silicone last longer.
Can I use bleach on wet room grout?
Diluted bleach removes mould from cement grout, but repeated use can discolour coloured grout and weaken it over time. A pH-neutral cleaner for routine cleaning, with a dedicated mould remover for problem areas, is the safer combination.
How long does it take to build a wet room?
Our bathrooms take two to six weeks on site, depending on size, scope, whether the layout changes and access. We do not have a separate figure for wet rooms, so the timeline for yours would depend on those same factors.
Book a free design consultation
If you are planning a wet room, we can fit fixtures you have already bought from a showroom, or design, supply and build the room with materials from high-quality brands chosen to your taste. We work across London, with Chigwell and Loughton as our core area. Book a free design consultation to talk through the space and what you want from it.